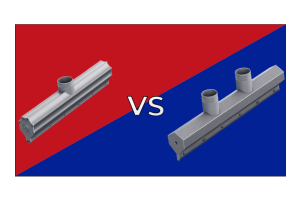
How to Change the Vanes on a Dry Vane Vacuum Pump – A Guide to Safe & Effective Maintenance

Regular maintenance is essential to keeping your dry vane vacuum pump running efficiently and extending its lifespan. One of the most critical maintenance tasks is replacing the vanes, as they wear down over time due to friction and constant use. Worn vanes can lead to reduced vacuum performance, overheating, and potential damage to the pump.
This guide will walk you through the step-by-step process of safely changing the vanes in a dry rotary vane vacuum pump while emphasizing best practices for safety and maintenance.
Understanding the Function of Vanes in a Dry Rotary Vane Pump
Dry rotary vane pumps rely on precision-fit vanes that slide in and out of the rotor slots to create suction. These vanes play a crucial role in maintaining the vacuum’s pressure and efficiency. Over time, the vanes wear down, causing a decline in performance.
Signs That Your Vanes Need Replacement
- Reduced suction power or inconsistent vacuum performance.
- Unusual noises, such as grinding or rattling.
- Overheating or excessive vibration.
- Dust or debris build up inside the pump.
- Visible wear and tear on the vanes during inspection.
Replacing the vanes before they fail completely will help maintain your pump’s efficiency and prevent costly downtime.
Safety Precautions Before Starting Maintenance
Before working on any machinery, SAFETY COMES FIRST! Follow these precautions to ensure a safe and effective maintenance process:
- Disconnect Power – Always unplug or shut off the pump’s power supply to prevent accidental activation.
- Wear Proper PPE – Use gloves and safety glasses to protect against debris and sharp edges.
- Prepare Your Workspace – Work in a clean, well-lit area with minimal obstructions.
- Check the Manufacturer’s Manual – Each pump model has specific instructions for disassembly and reassembly.
- Use the Right Tools – Have the necessary wrenches, screwdrivers, and cleaning materials on hand.
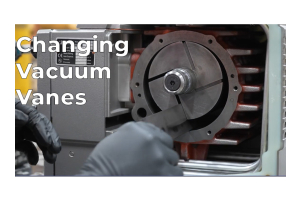
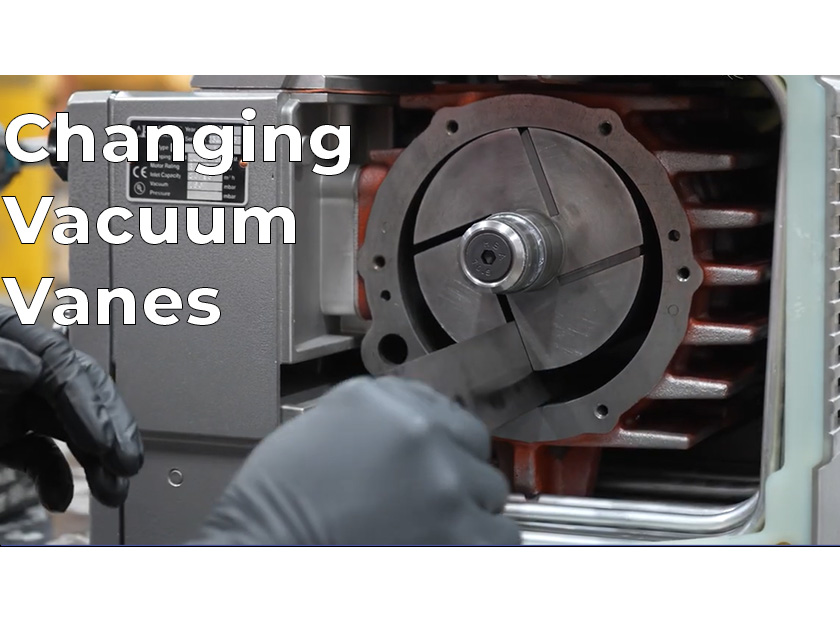
Step-by-Step Guide to Changing the Vanes
Step 1: Accessing the Vanes
- Remove the pump’s cover or housing using the appropriate tools.
- Take note of the current orientation of the vanes to ensure correct reinstallation.
Step 2: Removing the Old Vanes
- Carefully slide the worn vanes out of the rotor slots.
- Avoid forcing the vanes out—if they’re stuck, use gentle pressure to remove them.
- Inspect each vane for cracks, uneven wear, or damage.
Step 3: Inspecting the Pump Components
- Examine the rotor and stator surfaces for signs of wear.
- Check for dust, oil residue, or debris buildup inside the pump.
- Wipe down internal components to ensure a clean environment for the new vanes.
Step 4: Installing the New Vanes
- Insert the new vanes into the rotor slots, making sure they fit snugly.
- Ensure each vane moves freely within the slot without sticking.
- Verify that the orientation matches the way the old vanes were positioned.
Step 5: Reassembling the Pump
- Carefully replace the housing or cover and secure it with the appropriate screws.
- Double-check that all seals and gaskets are intact to maintain vacuum integrity.
Step 6: Testing the Pump
- Reconnect the pump to power and turn it on briefly.
- Monitor the pump’s operation for smooth function, proper suction, and any unusual noises.
- Check the vacuum pressure to ensure the new vanes are functioning correctly.
Preventative Maintenance Tips for Longer Pump Life
To keep your vacuum pump running efficiently, follow these preventative maintenance tips:
- Schedule Regular Inspections – Check the vanes, rotor, and internal components periodically for signs of wear.
- Use High-Quality Replacement Vanes – Always use manufacturer-approved vanes for the best performance and longevity.
- Keep the Pump Clean – Prevent dust and debris from accumulating inside the pump by maintaining a clean workspace.
- Maintain a Service Log – Track maintenance activities and vane replacements to stay ahead of potential issues.
Replacing the vanes in a dry rotary vane vacuum pump is an essential maintenance task that ensures consistent performance, reduces downtime, and extends the lifespan of your equipment. By following proper safety procedures and routine maintenance, you can keep your pump operating efficiently for years to come.
For more expert tips on vacuum pump maintenance, consult your manufacturer’s guidelines and stay proactive with routine servicing!